Category: Wheel Tracks
-

How-to Lubricate Window Slide & Door Locks
had a question recently that may be of interest. The question was: “How do I lubricate my window slides and door lock hardware in my antique cars?” I use Fluidfilm to lubricate window regulators and the latch on the inside of the door. I undercoat my cars with Fluidfilm in the fall, and keep a…
-

What to do with all these photos…
Thinking back on the winter chores that I didn’t get done, one thing that is always on my list is ‘photos’. I went through boxes of greeting cards, birthday cards and Christmas cards that seem to have accumulated in the desk. Does anyone else save cards for thirty years or more? In a weak moment…
-
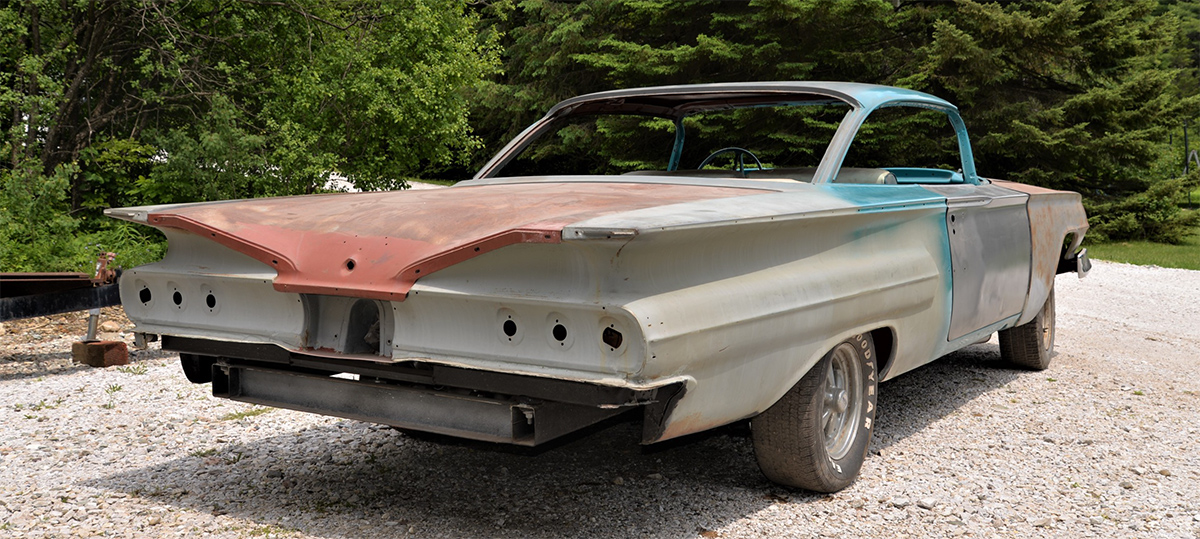
1960 Chevrolet Impala
VAEer Richard Spitzer has a project on his hands with this 1960 Chevy Impala. This from Richard Spitzer… When my dad told me he saw a 1960 Impala for sale, I had no clue what one looked like. Fins and a bubble top. What? I was 17 and driving a SAAB 99. I liked old cars, but…
-
The 2020 Golden Wrench Award
Dave’s Garage is giving space this month to the 2020 Golden Wrench Award Recipients. Congratulations to you all. The Vermont Automobile Enthusiasts Golden Wrench Award May 29, 2020 (Address & student name……..) Congratulations! You have been selected to receive VAE’s Golden Wrench Award. We have found you best exemplify the qualities of the positive attitude toward…
-
My musings from the past six months
Happy 4th of July! This day and, really, the past six months have probably been for you and me the most challenging in our day-to-day lives. We’re all self-distancing except for family and close friends. What, the Governor has said we can be in groups of 25 now? At least that gives us the chance…
-
McCormick-Deering Type M 6HP
The Right Power for the Bigger Jobs Wherever power is needed, the practical and careful man buys a McCormick-Deering 6HP engine to do his work. The 6HP engine has water-cooled cylinder head and belt pulley can be put on either side. I believe it was the 2006 Shelburne Vt car show where I first met…
-
Exhausted
When I pulled the Subaru in to take the winter tires off and wash the undercarriage I heard the unmistakable sound of a muffler leak. I was a bit surprised, as the car is only 5 years old. I looked at the muffler, and it looked like it was in good shape, until I saw…
-
I can talk to the people at the end of the road now
A few days ago when I turned the calendar to a new page, I noticed something that I haven’t seen in all my years of keeping a calendar. The page for May was blank. There was nothing written anywhere, with the one exception that there was a reminder to give my dog, Dixie, her heartworm…
-
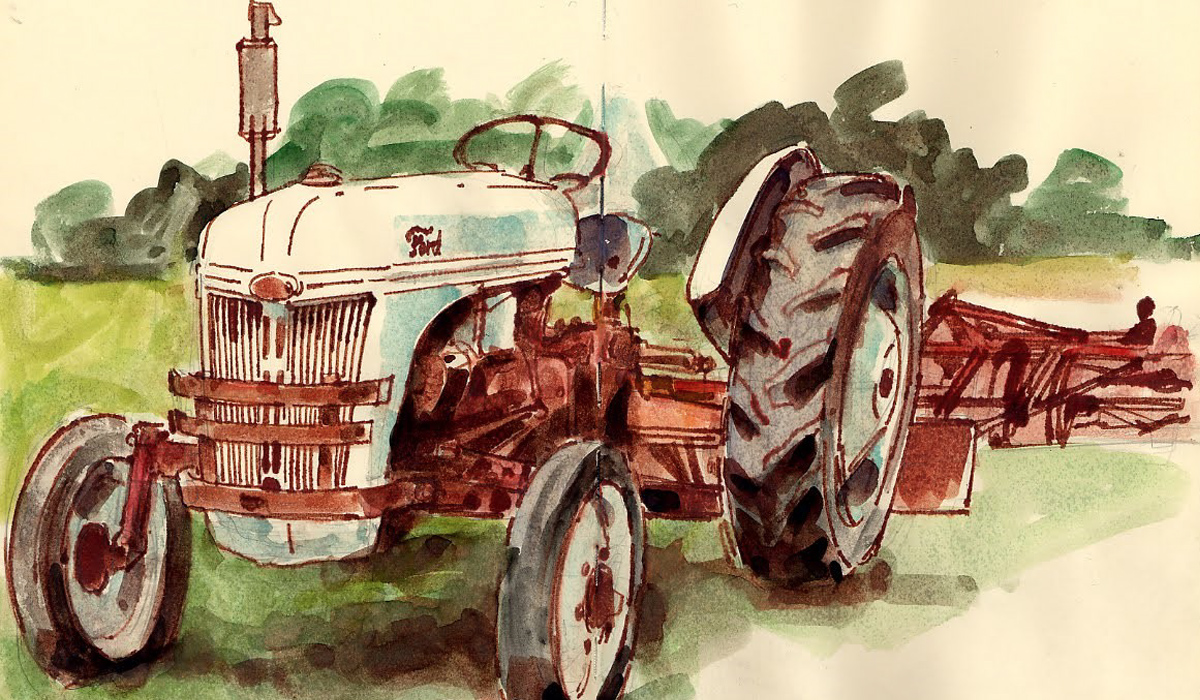
Ford N Tractors 1939-1952
First there was the 9N, then the 2N and finally the 8N. Our history and the history of at least one of the 350,000 N-tractors made, have most likely crossed paths at some time When the idea of doing a story on the iconic Ford N tractors came to Wheel Tracks, the idea seemed great and…
-
I have always had a fear of fires
When the cars go in to the garage for the winter, I have always believed they should be drivable and ready to be driven out quickly if there is a fire. I leave battery tenders on lead acid batteries (but not gel cell batteries, they have no static discharge) and always disconnect the batteries to…