Category: Wheel Tracks
-

My stud welder/slide hammer
Happy New Year! Although 2021 will have many challenges, I truly hope we will all have a better year. Absent any questions this month, I decided I would write a review for a very affordable and useful tool. I purchased a stud welder/slide hammer from Harbor Freight. This tool allows me to pull dents out,…
-

Lost – Found – Give
I do not know about you, but I ‘hate’ to lose something. I would rather drop it and see it run over by a bus (or in my case, an antique car would be more likely) and know its whereabouts and thus know what happened to it. The other is to give it away, I…
-
1933 Chevrolet Master Eagle Phaeton
This 1933 Master Eagle Phaeton Chevrolet now belongs to Gary and Nancy Olney. Some of us travel to the other side of our nation in search of our treasured antique auto. For the Olneys, the car had been hiding in a barn only 20 miles away, since 1954. The picture, right, is what a couple…
-
My Gypson Tours
The other day I saw a photo of the car I rode in for the Gypson tour this year. It was BJ Gonet’s 1931 Chrysler, a beautiful car. It was a lovely but cool day and Cousin Hal and I rode in the back with the top down for better visibility. I started out with…
-
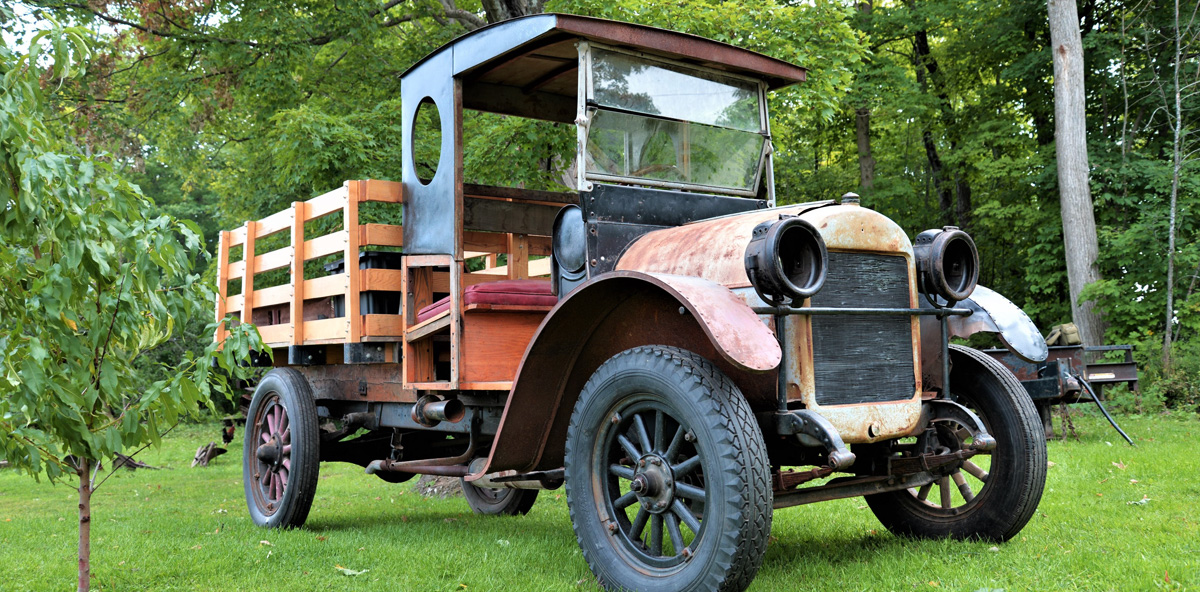
1918 REO Model F Speed Wagon
Mike Daigle and sons Domenico and Charlie have a new project at their home. The 1918 REO Model F Speed Wagon will be their winter project… And maybe beyond winter. Asked why a REO Speed Wagon Mike Daigle said “Probably because of his neighbor Gene Towne.” Gene Towne died a few years ago, but he left a huge foot-print in our memories,…
-
How much wood can a woodchuck chuck
You all probably know I love to garden. Well, by now I’ve started to put the flower beds to rest for the long winter ahead, but I’ll tell you about my August/September problem. And it turned out to be a BIG problem. It seems we had a gopher invade our lawn. Well, at least that’s…
-
Battery Disconnect
Dave! Hope you enjoyed your vacation? Did you go anywhere fun? Did you find anything that interested you, or your family? Hey, I need some help, please? I just bought a low profile “sliding” battery disconnect, which will mount to the negative terminal of my antique car’s battery (6v). It seems apparent to me that…
-
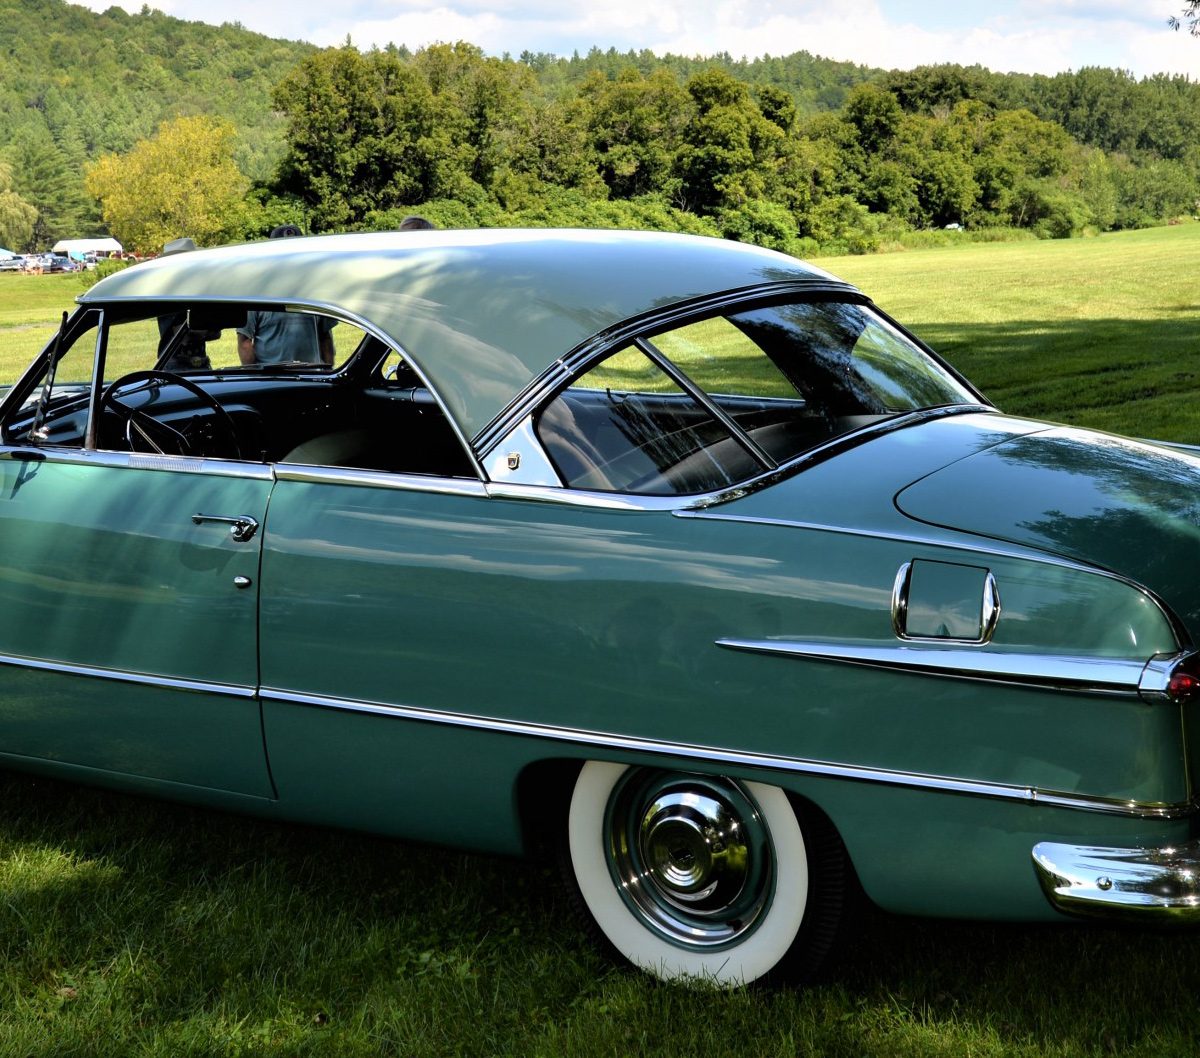
1951 Ford Victoria
Allan Wright’s 1951 Ford Victoria is almost 70 years-old and has 80,000 miles on the odometer…..but, if you look closely, the car is in better shape than when it came from the factory. After a complete professional restoration and winning a number of national awards, Allan was able to purchase this Ford “Vic” from its…
-
Stories for your Grandchildren
I was thinking, the other day, about Covid-19 and what it will be like to be on the other side of this horrible time. Of course, I hope that we will all get to the other side of this virus. Like most things in history at some point our grand or great grandchildren will hear…
-
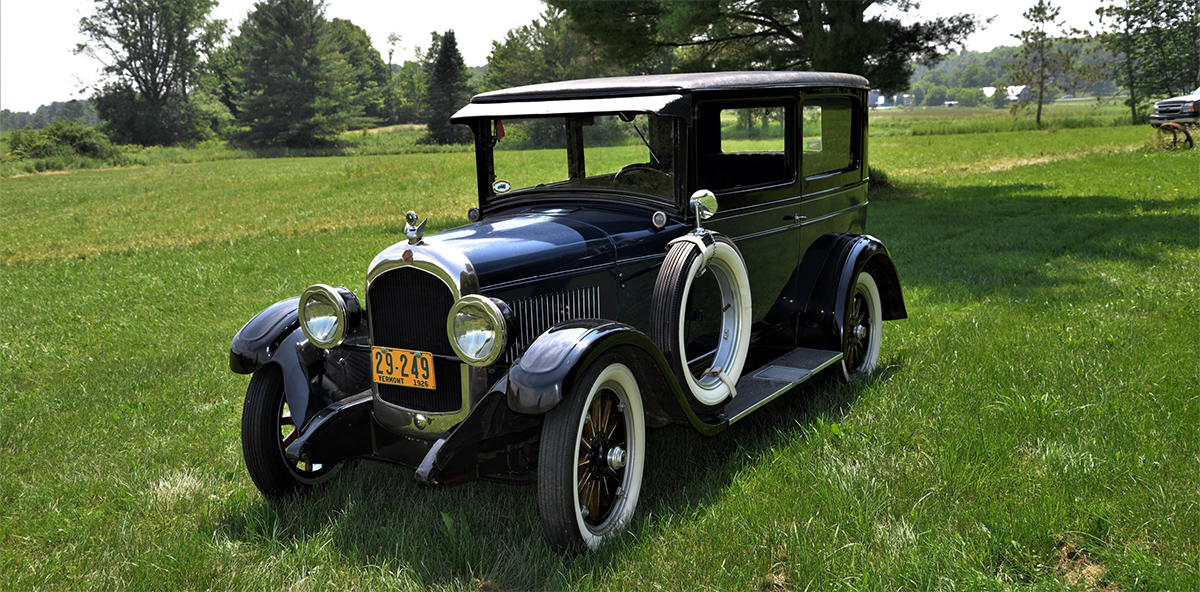
1926 Chrysler Model 25
This is a test… is Fred Gonet’s automobile, pictured here, really, a Chrysler or is someone playing a joke on us, and it is really a Maxwell?Answer… in 1925, this exact model would have had a Maxwell badge on its hood. That same year, Chrysler bought out Maxwell, named this car the Model 25 and…