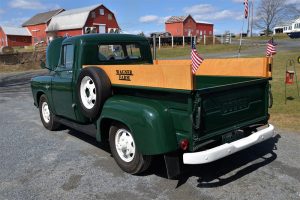
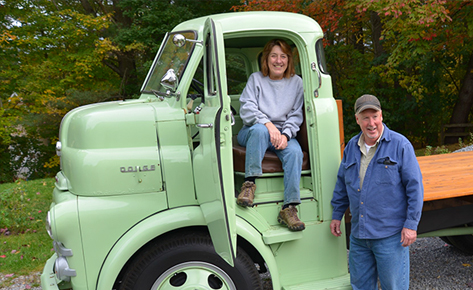
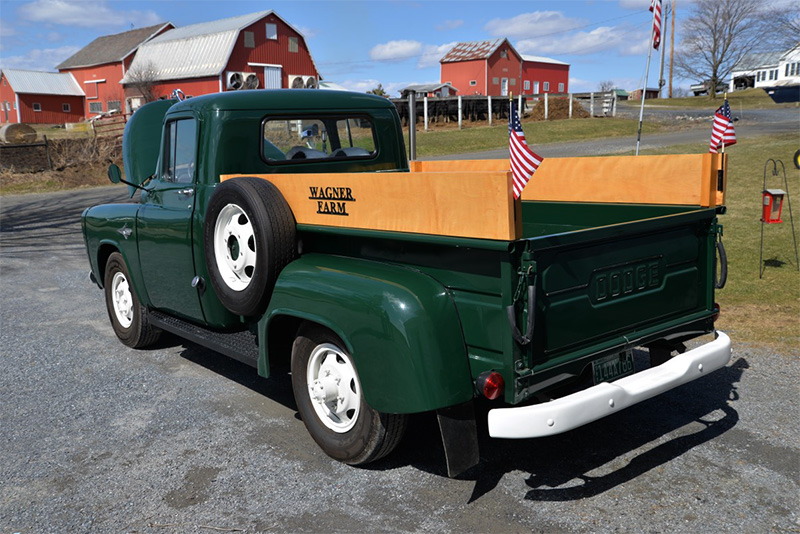
Paul & Barb Wagner’s 1957 Dodge D200
“For 43 years it was our Every-day farm truck. Today it is our car-show truck”
 Back in 1967, we decided to purchase a truck to support our small family dairy farm in Methuen, MA. The search led us to a gentleman who had a sewing machine business, and a 1957 Dodge 3/4 ton pick-up with 59,000 miles on the odometer. The truck sold for $1,750 brand new, he was asking $200.00 for it. I countered with $175.00 and drove away with the truck.
It was put into use on the farm immediately. We used it to haul milk, cattle, sawdust, manure, it was a great, all purpose vehicle.
 In 1969, my father and I bought a larger dairy farm in Bridport, Vermont. That was 200 miles away from Methuen. The Dodge was a godsend for hauling furniture and farm equipment to Vermont, and then take hay back to Massachusetts to feed our animals there. I would load sixty, forty-pound bales on the truck (2400 lbs.) and drive the 200 miles on ten gallons of gas. Not bad mileage with that kind of a load. Once the move to Vermont was complete, we put 700-800 ‘farm’ miles on the truck each year. The transmission was not right for slow field work so we rode the clutch a lot. After 11 years of this, we had to replace the clutch and when we did that, we put a four speed transmission in. The move from 3-on-the-tree to 4-on-the-floor made it a real farm truck! It was parked in the shop in 2003 when a gale wind came through and knocked the shop down. The shop roof landed in a tree across the road, while the old Dodge just sat there, with only the scratches it had when we parked it there. The truck did its work until 2005 when it would not pass inspection any longer. For the next five years it sat in the machine shed getting dusty. I started it up a couple of times a year to make sure the engine did not seize.
I sold the farm to my son in 2010 and entered semi-retirement. I had talked so much about fixing up the truck, over the years, that my wife, Barb told me there would never be a better time, than now to do it. I guess she had heard it enough….so I did. Little did I know what I was getting myself into.
Three miles south of here, my friend Kevin has a body shop. I pulled everything off the frame. All that was left was the engine, transmission and wheels, which I pulled to Kevin’s with my old John Deere. This had taken me about fifty hours at this point, all my labor and no money. I soon found out this would get reversed! Just finishing the prep work, Kevin had used eighty-five, 100 pound bags of blasting sand.
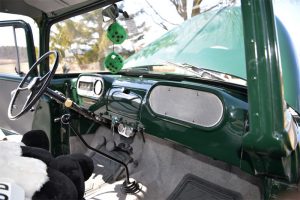
When I removed the cab from the frame, I found it was set up for both left and right hand drive. There are pop-outs on the floor for the clutch and brake pedals. The dash is the same on both sides. There is an aluminum plate on the right side where I thought was meant for a radio. When I removed it, I found framework for the speedometer and gauges. I considered changing to the right side but then I thought, “Who is going to drive it?”….Not me!, so I left it the way it was.
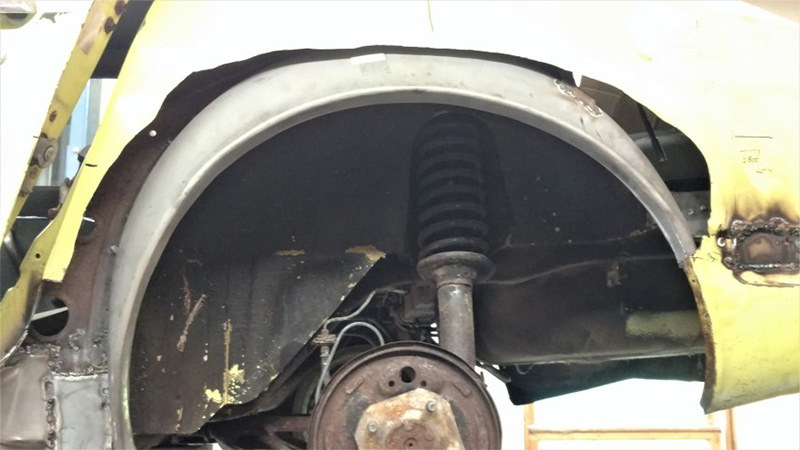
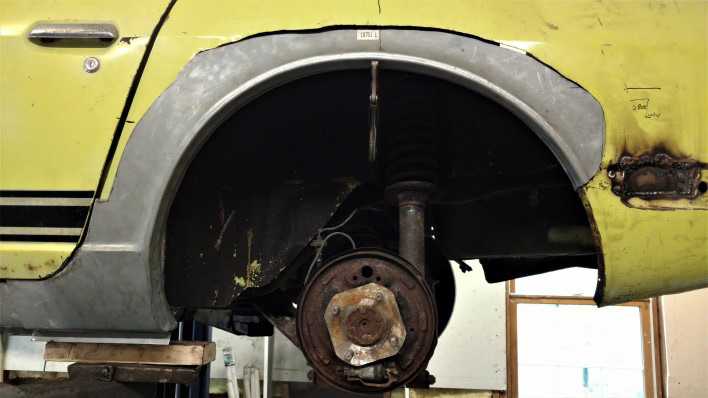
The next challenge was finding body parts. In 1957, 340,000 Ford pickups were made and GM made 360,00. Dodge made 50,000 pickups that year. So, finding the parts I needed, ended in very short phone calls…no we don’t have any. Then I heard about Desert Valley Auto Parts in Arizona. They had three corpses! My luck had changed, I found the two rear fenders, the right front fender and the grill that I needed. It took three months to get the parts but the wait was worth it. Being a life-long New Englander, I was utterly amazed at the condition… no rust at all! I found two box sides in Rhode Island and used Hickory boards for the floor. I chose not to use oak, as I wanted something with knots, but pine was too soft.
There were two safety problems with vehicles from this period that I wanted to correct with my restoration. The single reservoir master brake cylinder and no seat belts. I went to the ‘68 Dodge split system and had to add a regulator to balance the pressure. Lap seat belts took care of the second problem. The paint color is forest green with two coats of epoxy primer, two coats of filler primer and two coats of enamel. The paint alone was $2000.00…welcome to restoration.
The whole process took ten months to complete. Kevin had 300 hours, I had that many and more, but no charge for me, it’s a LABOR OF LOVE! I kept a notebook of the expenses, even after being told not to because ‘I did not want to know’. The project ended up costing $23,380.00. the high-level break-down was $13,000 in labor, and $10,380 for parts ( I did not rebuild the engine or drive train).
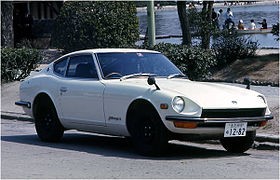
In May of 2014, the steering shaft broke in a restaurant parking lot. The steering wheel was in my hands not attached. I decided it was time for power steering, my age demanded it! Driving is much more enjoyable now. My friend, Ed James, did some research and found the steering system from a ‘79 to ‘86 Toyota pickup would work. I added a pump from an ‘84 Camaro and I was in busi-ness.
The old Dodge gets a lot of attention in parades and car shows. We were at the local soft serve ice cream place when a fella came up and said, “ I bet you think more of this truck, than you do your wife!” I replied, “The only thing I can say, the truck does exactly what I ask it to do.” I always say, there is high tech and there is low tech. My truck is NO TECH!

1957 Dodge D200 Specs:
- Engine, Chrysler 230 cu. In. L-head (flat head) 6 cylinder.
- Horse power, 110
- Wheels, 16 inch split rims-8 lug (750X16)
- Rear-end, 3/4-1 ton set-up for duals
- Present mileage, 111,028
Editor’s notes… Paul told about his daughter slinking down in the seat, out of view of her friends, in the old days when he would leave her off at school. She recently asked if she could possibly get the truck when he made out his will. Thank you Paul for letting us feature your truck and your history with it.

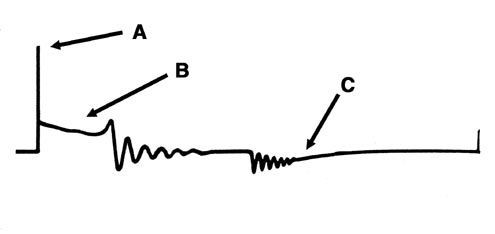 When an oscilloscope is used by a mechanic to tune your engine, the picture to the left is what one good cylinder looks like during one firing cycle.
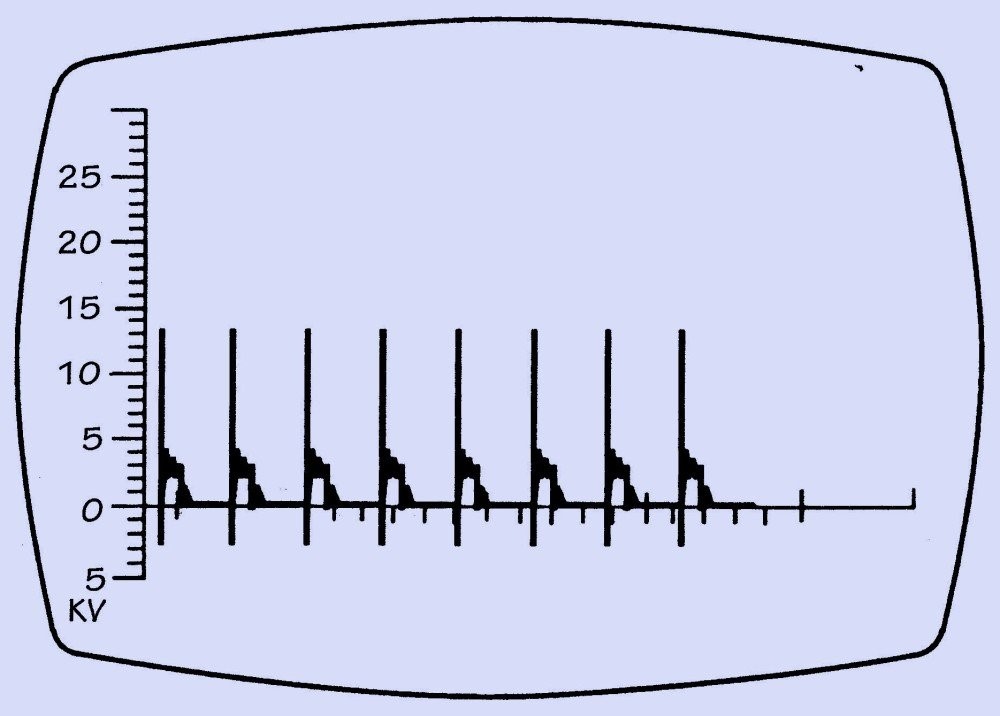 The picture on the left shows an 8 cylinder engine, all cylinders doing what they are supposed to be doing with the spark plugs firing with 14,000 volts. If a mechanic sees the 3rd vertical lines at, say, 5,000 volts, then he might pull the spark plug from #3 cylinder to see if it is defective.
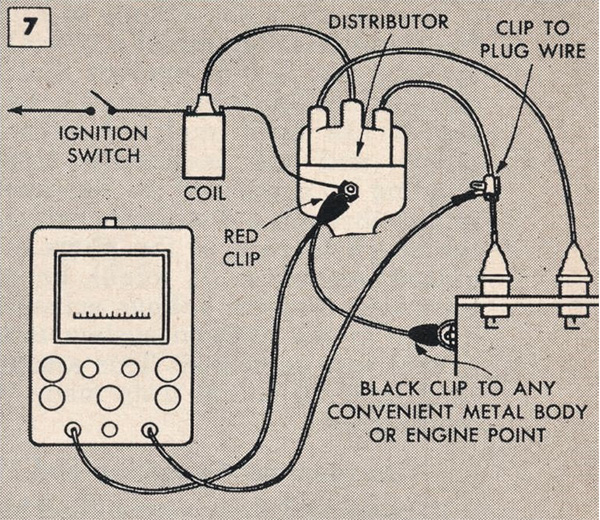
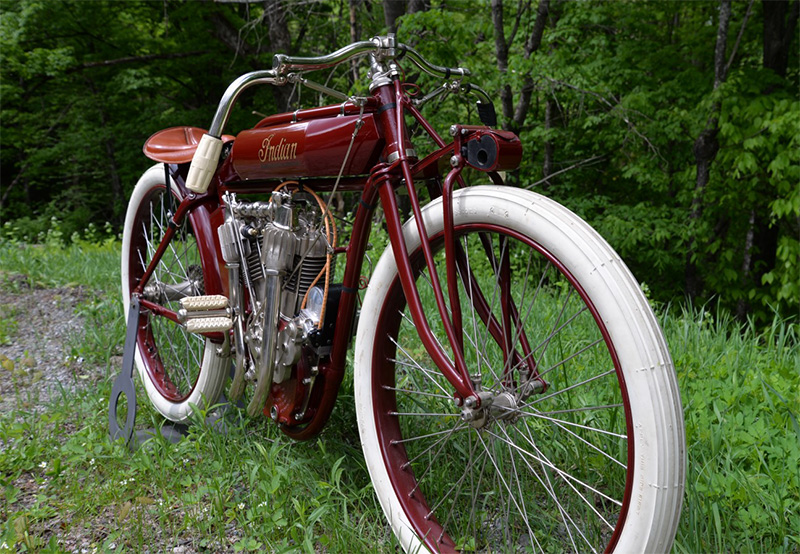
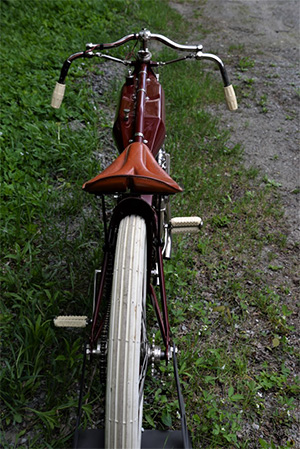
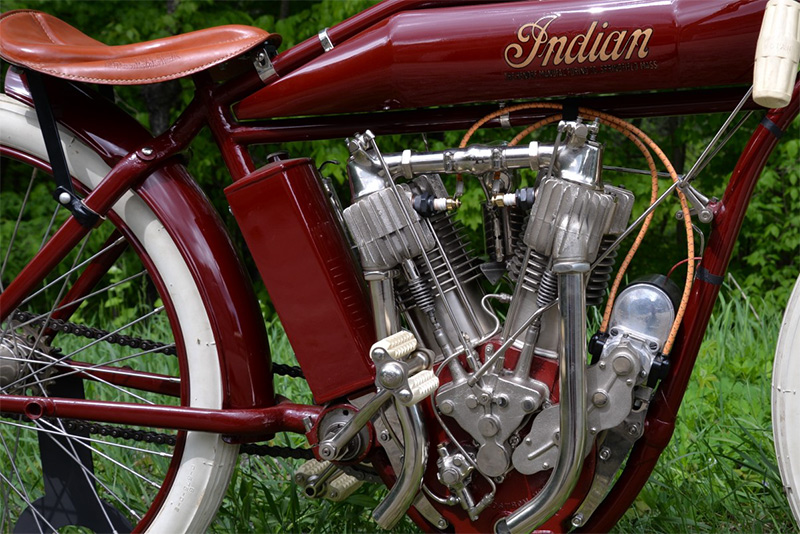
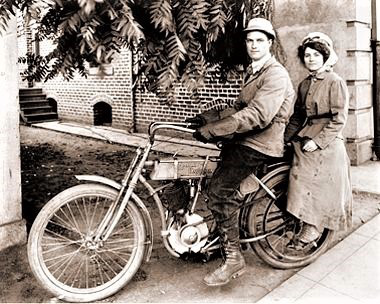
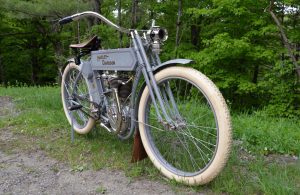 Wheel Tracks had the great opportunity of having these two motorcycles in one place, on a sunny afternoon and wanted to pass a little about them, on to our VAE members. On the left is a 1910 Harley Davidson motorcycle. This is not a racer, but a beautiful road bike. It is a perfect replica of the original owned by Fred Gonet.
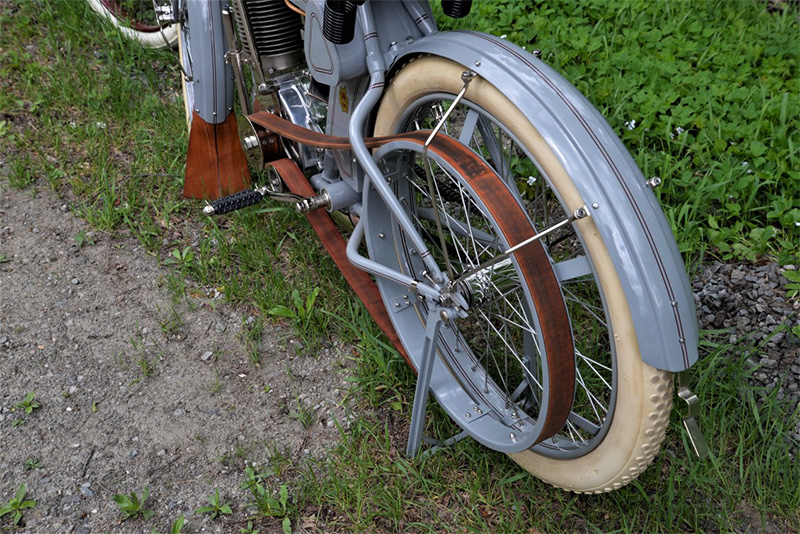
 Rhubarb!! We are overwhelmed with it. There is just so much you can eat.Friends either really like it or really don’t like it, so I can only give away so much. I would love to freeze some, but the freezer is full. We just have the freezer that is with the refrigerator…no large separate one. We use to have a big freezer, back when I had a big vegetable garden and froze produce along with pigs, beef cows, etc. We even had someone from somewhere in Canada come to the house once a week to deliver bread, English muffins, etc. That was great, but there were always loaves of bread that ended up in the bottom of the freezer, to be found a year later and tossed to the pigs.


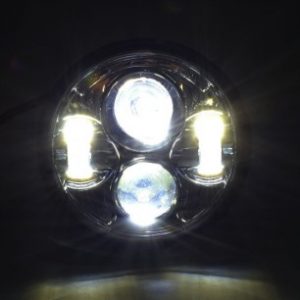 One of the headlights recently burned out on one of my Saabs. No big deal, this happens every so often. A set of premium brighter bulbs costs almost fifty bucks, and I have noticed they do not last as long as the regular bulbs. A pair of LED bulbs is only fifteen dollars more, and these will outlast the car. I decided to order the LED bulbs and try them. They are a direct fit replacement for the standard halogen bulb. Unlike many LED bulbs on the market, these bulbs are an engineered replacement for the incandescent bulbs.
 In addition to lasting much longer, the LED bulbs do not generate heat, takes far less energy, and you can actually touch the bulb without destroying the bulb. Interestingly, I noticed both old headlight bulb pigtails were partially melted when I installed the LED bulbs.